
🕒 5 minute read
Trust Framework - Keys and Certificates
To operate within the ecosystem, your application must use certificates issued and stored within the Trust Framework. There are three types of certificates, each serving a distinct security function:
1. Transport Certificate - Required
Used for mutual TLS (mTLS) to authenticate your client (application) when making API requests.
- Purpose: Secure transport and client authentication
- Usage: mTLS handshake for all API calls
- Presented to: API providers during connection
2. Signing Certificate - Required
Used to digitally sign JWTs your application sends — such as client assertions, request objects, etc.
- Purpose: Proving integrity and authenticity of signed payloads
- Usage: Signing the contents of JWTs
3. Encryption Certificate - Optional (Required for participants subscribing to receive events)
Used to encrypt data such as an event.
- Purpose: Ensuring only your application can read sensitive data
- Usage: Decrypting encrypted responses
Each certificate plays a critical role in securing communication, asserting identity, and protecting data in transit. Once you understand the different certificate types, you can generate the required keys and CSRs according to the Trust Framework specifications.
Key and Certificate Requirements
Keys and certificates within the Trust Framework (TF) must meet the following requirements:
- 2048-bit RSA private key (unencrypted)
- A corresponding Certificate Signing Request (CSR) signed with SHA-256
- CSR subject fields must include:
- C → Country — must be set to
AE(United Arab Emirates) - O → Organization — must equal the Organization's legal name in the Trust Framework
- OU → Organizational Unit — must equal the Organization's ID in the Trust Framework
- CN → Common Name — must equal the application's Client ID (the UUID assigned by the Trust Framework when the application was created)
- C → Country — must be set to
Generating the Private Key and CSR
The Trust Framework provides an example using OpenSSL to generate:
- A private key file (
.key) - A Certificate Signing Request file (
.csr)
Example:
openssl req -new -newkey rsa:2048 -nodes \
  -keyout <UUID>.key \
  -out <UUID>.csr \
  -subj "/C=AE/O=<LegalName>/OU=<OrganizationId>/CN=<UUID>" \
  -sha256
Replace LegalName and OrganizationId with your organisation's details from the Trust Framework. Replace UUID with your application's Client ID — the UUID assigned when the application was created (see Creating an Application). Equivalent cryptographic tools may be used, provided all requirements above are met.
The .csr file (Certificate Signing Request) must be uploaded to the Trust Framework. The .key file (Private Key) must be kept secure and must never be shared. More information on private key handling and security requirements can be found here.
Walkthrough – Creating a Certificate
Step 1 – Navigate to App Certificates
- Open your application in the Trust Framework.
- Click App Certificates.
- Click + New Certificate.
Step 2 – Select the certificate type
- Select the type of certificate you want to generate: Transport, Signing, or Encryption. You will need to repeat this process for each type.
Step 3 – Generate the private key and CSR
- Generate your private key (
.key) and Certificate Signing Request (.csr). - Confirm that the CSR has been generated successfully before proceeding.
Production environments
The OpenSSL command shown is intended for demonstration and testing only. In production, private key generation and CSR creation must be performed within your HSM or equivalent secure key management infrastructure, in accordance with your institution's security policies.
Step 4 – Upload the CSR
- Click Upload your CSR and select the
.csrfile generated in the previous step.
Step 5 – Download the certificate
- Once the Trust Framework processes the CSR, your certificate is ready. Download the
.pemcertificate file. - You now have the
.pem/.keypair. Store your private key securely — it must never be shared. See Secure Management for requirements.
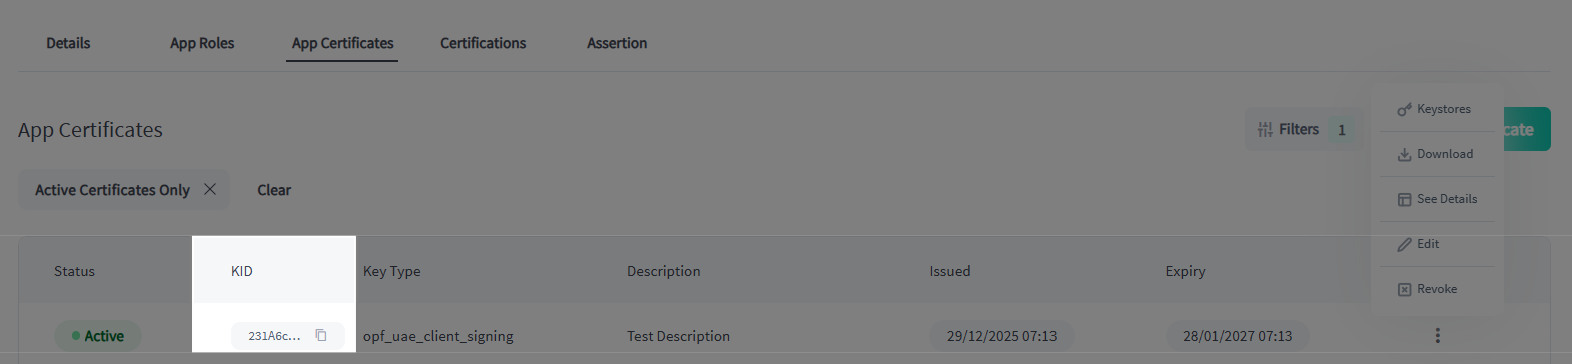
Finding Your Key ID (kid)
Once your certificate is issued, the Trust Framework assigns it a Key ID (kid). This value must be included in the kid header of every JWT signed with the corresponding private key.
Where to find it later
Your kid is always visible on the certificate detail page. Navigate to your Application → App Certificates → select the certificate. Copy the Key ID exactly as shown — it is case-sensitive. See Message Signing for how the kid value is used in the JWT header.
You will need a separate kid for each certificate type (Transport, Signing, Encryption). When signing JWTs, always use the kid of your Signing certificate.