
LFI · Trust Framework · Applications
Creating the C3-hh-cm-client Application 2 min read
The C3-hh-cm-client is the LFI-side application used to make requests to the API Hub. This walkthrough covers creating that application in the Trust Framework Directory.
01 Walkthrough
From + New Application to a registered Client ID
Navigate to '+ New Application'
- Navigate to your organisation.
- Open the Applications section.
- Click + New Application.
Select the application roles
LFI role onlyAssign the LFI role only to this client. It must not be assigned any TPP roles.
- Select the LFI role. This client is used solely to make requests to the API Hub on behalf of your LFI and must not be assigned TPP roles.
Provide the Client Details
- Client Name — enter a clear name that identifies this client as your C3-hh-cm-client (e.g.
C3-hh-cm-client). - Software Version — enter a version for your software (e.g.
1.0.0). - Logo — a logo is required by the form. Because this client is never used in a user-facing redirect flow, the logo will not be displayed to end users; any valid image will suffice.
- Federation — we recommend setting Federation to Enabled and Federation Entity Management Type to Managed. This allows the Trust Framework to automatically publish and maintain your application's federation metadata, so the API Hub can discover and validate your client without manual configuration.
- Client Name — enter a clear name that identifies this client as your C3-hh-cm-client (e.g.
Provide the Redirect URI
- A redirect URI is required by the form. Because this client is never used in an authorisation flow with an end user, it will not be called; any valid HTTPS URI will suffice (e.g.
https://localhost/callback).
- A redirect URI is required by the form. Because this client is never used in an authorisation flow with an end user, it will not be called; any valid HTTPS URI will suffice (e.g.
Finish creating the application
- Click through to Create and register the application.
02 Your Client ID
The UUID assigned when the application is created
Once your application is created, the Trust Framework assigns it a Client ID — a UUID that permanently identifies this application. You will use this value as client_id, iss, and sub in every JWT — keep a note of it.
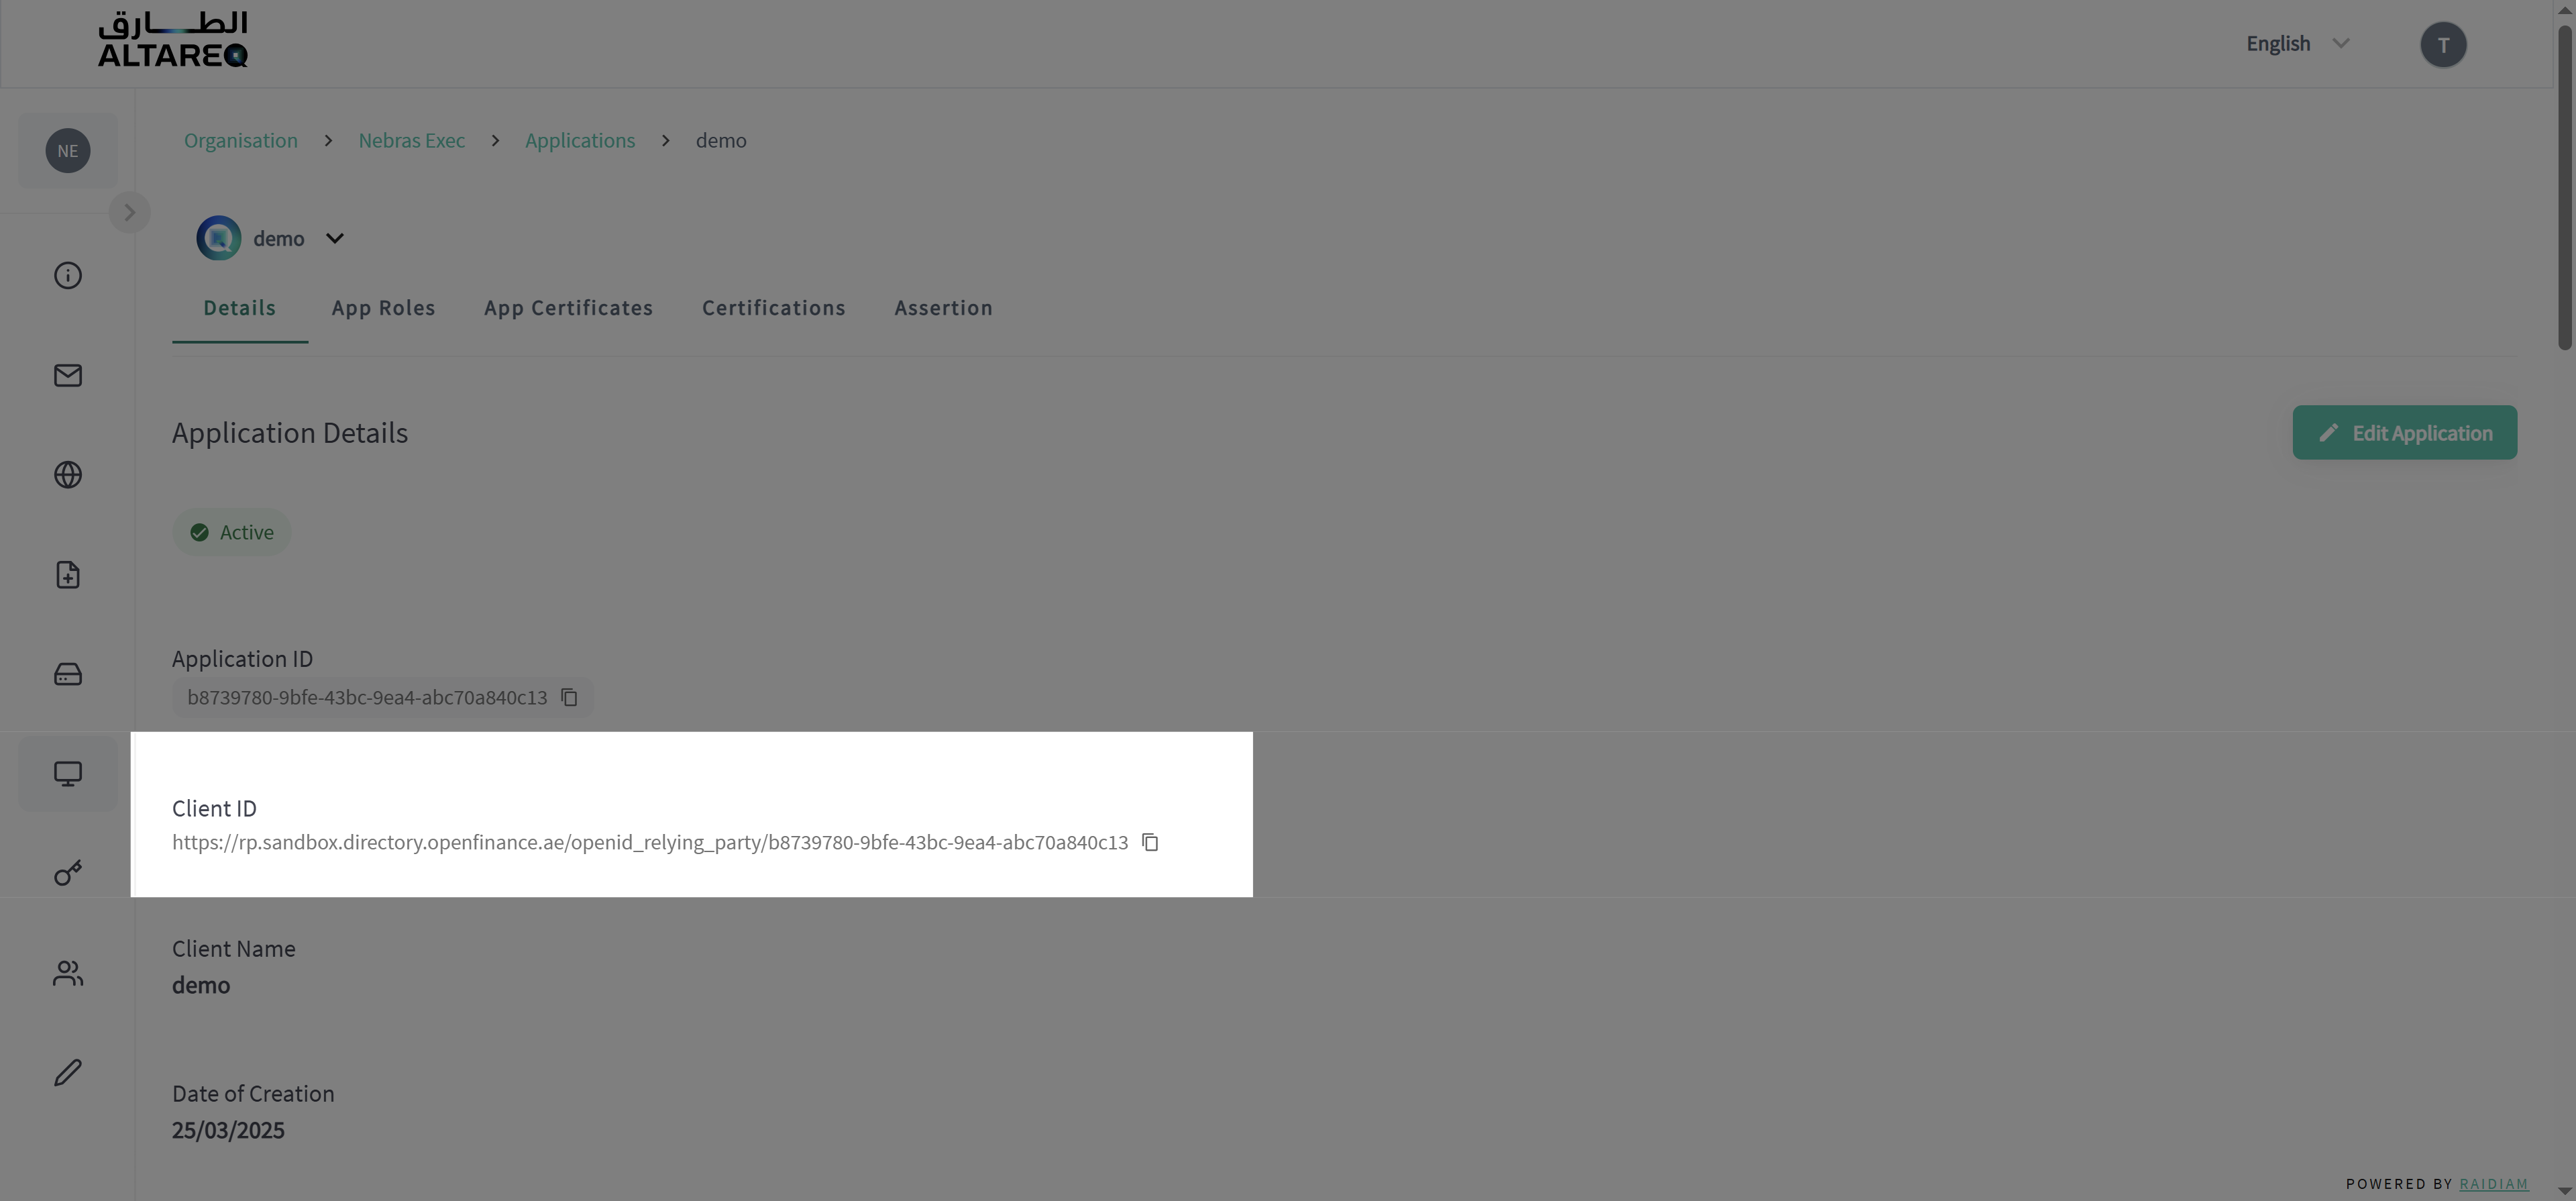
Where to find it later
Your Client ID is always visible on the application detail page in the Trust Framework Directory. If you need to retrieve it again, navigate to your Organisation → Applications → select the application.